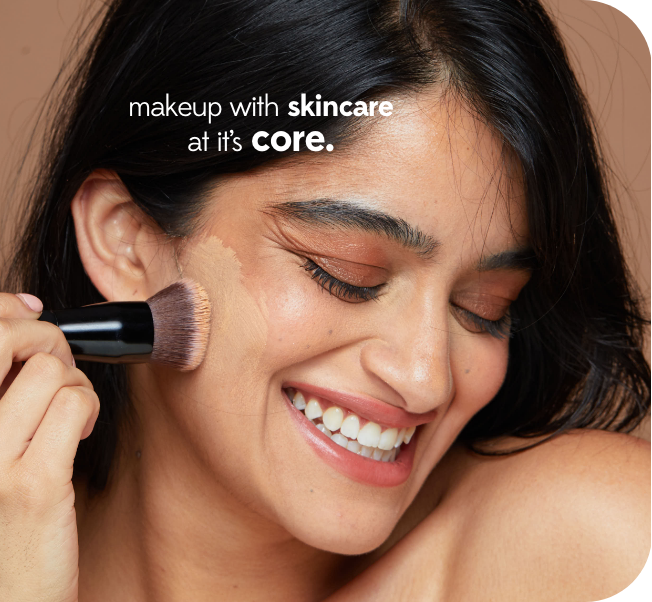
A gorgeous base can make or break your entire makeup look. But if your foundation ends up looking streaky, cakey, or patchy, the problem usually isn’t the product. It’s the technique. Knowing how to apply liquid foundation the right way makes all the difference between “wearing makeup” and “looking like your best skin ever.”
Whether you’re a beginner or someone who’s been doing it for years but never quite nailed the finish, we’ve got you. Here’s everything you need to know about how to apply foundation properly, from skin prep to the final set.
First Things First: Get Your Skin Ready
Before you even reach for your foundation, your skin needs to be ready. Skipping prep is the number one reason base makeup looks uneven or starts separating.
Cleanse and Moisturise (Yes, Even Oily Skin)
Wash your face with a gentle cleanser and follow up with a lightweight moisturiser. Even oily skin needs hydration; without it, your skin overproduces sebum, which makes foundation slide around. Pat your moisturiser in and give it about 30 seconds to absorb fully.
A Good Primer Goes a Long Way
A good primer creates an even canvas that helps your foundation grip and last longer. The Ruby’s Organics Hydra-Blur Primer is silicone-free and uses niacinamide to blur pores while olive squalane hydrates underneath. Apply a pea-sized amount across your face, focusing on the T-zone and areas where pores are more visible.
Don’t Skip the Sunscreen
Sunscreen goes on after moisturiser. The Ruby’s Organics Tinted Mineral Sunscreen SPF 40 doubles as a base-smoothing step, with a universal tint that blends into Indian skin tones without any white cast. Let it settle for a minute before moving on to the foundation.
Okay, Now Let’s Apply That Foundation
Now that your skin is prepped, here’s the best way to apply liquid foundation for a natural, skin-like finish.
Step 1: Get Your Shade Right
Always test along your jawline in natural daylight, not on the back of your hand. If you’re unsure about your match, the Ruby’s Organics Foundation Trial Pack lets you swatch multiple shades at home before committing to full size.
Step 2: Less Is More (Trust Us on This One)
One pump is usually enough. Dot the Ruby’s Organics Skin-Tint Mattifying Foundation onto five points: forehead, both cheeks, nose, and chin. Starting with less gives you a far more breathable, natural result. You can always build up in thin layers where needed.
Step 3: Brush, Sponge, or Fingers?
How you blend determines how your foundation looks. A foundation brush like the Ruby’s Organics Dual Ended Brush works in gentle circular motions and deposits product evenly without streaks. A damp beauty sponge gives the most airbrushed finish and is ideal if you’re trying to figure out how to put on liquid foundation for the first time. Fingers work beautifully for sheer, everyday coverage; just warm the product between your fingertips and press it into the skin.
Whichever method you choose, always blend outwards towards the hairline, jawline, and ears so there are no harsh edges.
Step 4: Concealer Comes After (Not Before)
Once your base is blended, reach for your concealer only where you need extra coverage: under the eyes, over blemishes, or around the nose. The Ruby’s Organics Hydra Liquid Concealer is powered by bakuchiol and olive squalane, so it brightens and hydrates without settling into lines. Applying concealer after foundation means you use less product overall. You can also pair it with the Concealer Combos for a complete under-eye routine.
Step 5: Set It, But Only Where You Need To
You don’t need to powder your entire face. The Ruby’s Organics Compact Setting Powder is talc-free and uses rice starch and bamboo silica to mattify without drying. Press gently with a brush or puff on the T-zone and leave drier areas powder-free so they keep their natural glow.
Mistakes That Are Probably Messing Up Your Base
Even experienced makeup lovers slip up sometimes. Applying too much product at once is the biggest culprit. Matching your shade under artificial bathroom lighting is another common mistake; natural daylight gives you the most accurate read. And never skip blending along the jawline and neck, because a floating “mask” of colour is not the look anyone is going for.
Your Formula Matters Just as Much as Your Technique
Mastering how to properly apply foundation is important, but your formula plays an equally big role. The Ruby’s Organics Skin-Tint Mattifying Foundation is 96% naturally derived, silicone-free, and packed with kaolin clay and jojoba oil for buildable, comfortable coverage. Pair it with the rest of the Ruby’s Organics Base Collection for a complete routine built around clean, plant-based ingredients and Ecocert/COSMOS certified formulas. Finish with a swipe of Lip Oil Gloss, and you’re good to go.
Ready to nail your base? Shop the full range of clean, skin-first makeup at Ruby’s Organics.
FAQs
Q. What is the best way to apply liquid foundation for beginners?
Start with a moisturised, primed face. Dot one pump on five points (forehead, cheeks, nose, chin) and blend outward with a damp sponge or your fingers. Build coverage slowly rather than applying a heavy layer all at once.
Q. Should I use a brush or a sponge for liquid foundation?
Both work well. A brush gives more coverage and precision, while a damp sponge gives a sheerer, more airbrushed finish. Fingers are also great for everyday natural coverage.
Q. How do I stop my foundation from looking cakey?
Use less product than you think you need, blend thoroughly, and set only the oily areas with a light powder. Choosing a breathable, silicone-free formula also helps prevent that heavy, caked-on look.
Q. Should concealer go on before or after foundation?
After. Foundation evens out your skin tone first, so you’ll need far less concealer. Dot it only on spots that still need extra coverage, then blend gently.
Q. How do I choose the right foundation shade?
Test along your jawline in natural daylight. The shade that blends seamlessly into your jaw and neck is the right match. A trial pack is a great way to swatch multiple shades at home before committing.